
How To Make Homemade Vinegar
Enjoy making
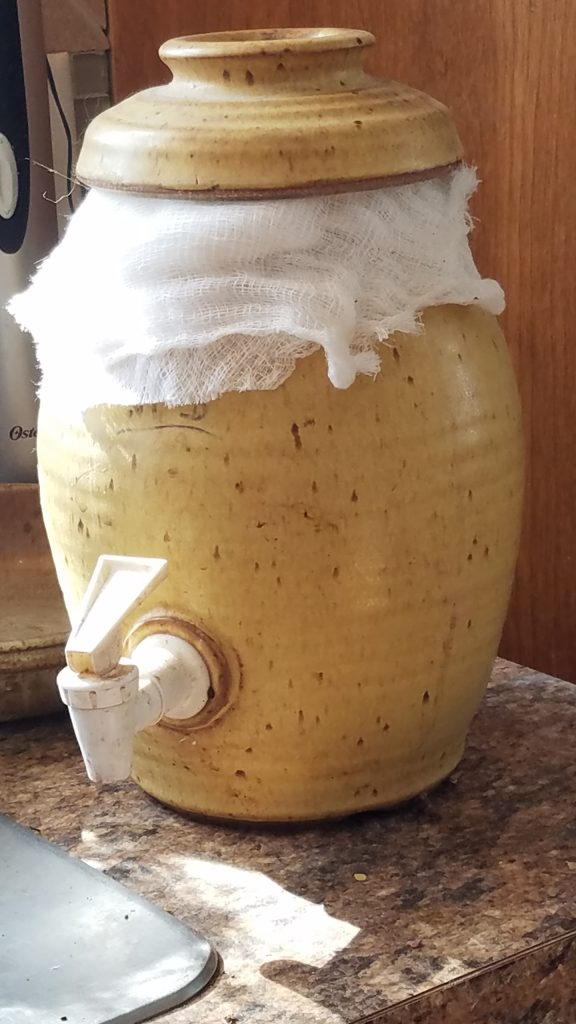
YOUR NewClay Pottery VINEGAR CROCK
By Tom Wirt, NewClay Pottery
It’s simple to make your own homemade red wine vinegar. Thank you for buying a vinegar crock from NewClay Pottery. Paula Wolfert first put me on to the idea of home-brewed wine vinegars when she was preparing her article for the October 2006 Food and Wine Magazine issue. The basic design of the crock shape changes as we go, so your crock may differ from the web photos. Mostly the changes are to make the crock work better or to keep the potter from getting bored.
The second lid, with the hole in the center, is to hold down a piece of cheesecloth. Vinegar needs air for the mother to produce new vinegar. 6 to 8 thicknesses should help keep fruit flies at bay, yet allow air circulation. It also allows easy removal of the cheesecloth to add wine. As you add additional wine, pour it in gently on top of the mother that has formed. You can use a spoon, turkey baster or bit of clear plastic tube to do this, to avoid disturbing the mother. A new mother will form on top of the added wine.
I have also found that a second square, maybe 2 or 3 thicknesses helps keep fruit flies at bay in those years when they’re really bad.
The regular lid is so that, if for some reason or use (like lemonade or kombucha) you need a more tightly fitting lid, you’ve got it.
At some point, you should look on the web for articles on brewing home vinegar. Just search for homemade vinegar. One great one is www.vinegarman.com.
Some articles on
Homemade Vinegar can be read at Sunset Magazine’s Site
https://www.sunset.com/food-wine/techniques/vinegar
in Your new NewClay Pottery Vinegar Crock or jar. Use it in cooking soups, stews, sauces as a flavor enhancer.
And don’t forget the healthy aspects of drinking a couple of teaspoons of diluted vinegar each day.
By Paula Wolfert – Used by permission
“All you need is red wine, water, patience and a good mother.”
This article originally appeared in October, 2006 Food and Wine Magazine. http://www.foodandwine.com/ and is reprinted by permission.
“As I write this, I have six earthenware crocks of red wine vinegar in various stages of evolution tucked away in the dark corners of my kitchen. “Why go to all that trouble?” my friends ask. “Aren’t there plenty of good red wine vinegars on the market?” The answer is no. If there are any as good as the kind you can make yourself, I’ve yet to find them.
“I’m not talking about real balsamic vinegar, or top-shelf sherry or Banyuls vinegars; great bottles of these are readily available. But when it comes to simple red wine vinegar, commercial manufacturers make it much too quickly and on the cheap.
WHY IS HOMEMADE VINEGAR SO DIFFERENT?
“So why is homemade vinegar so special? Its taste. It’s crisper, more subtle and better balanced than the acidic one-note versions you can buy, with a sparkling quality that enhances food. Used in a sauce or simply for deglazing a sauté pan, it coaxes out layers of flavor. Furthermore, homemade red wine vinegar creates superior salad dressings: I often marinate finely chopped shallots in it for 15 minutes, then add extra-virgin olive oil and salt and pepper for a superb vinaigrette.
“Making vinegar is surprisingly easy. The most important component is patience, because good vinegar takes about two and a half months to develop. To begin, you’ll need an earthenware crock with a high-quality plastic or wood spigot, red wine, water and a live starter, often referred to as a mother. The chemical reaction that takes place between the mother and the wine produces vinegar.
THE MOTHER IS THE CRITICAL COMPONENT!
“A vinegar mother is a fascinating thing to behold. It can be a smooth, gelatinous disk or a leathery veil that ends up sitting atop the liquid inside the crock undisturbed while it does its work. Eventually, the mother layer becomes quite heavy and sinks to the bottom, and another layer takes its place on top. After many batches, the bottom layers stack up, creating an expired blob of useless mothers that needs to be removed.
“Basically, there are two ways to go about finding a good mother: get one from a friend who makes vinegar or purchase one from an outfit that sells wine- and beer-making supplies. I got my first mother from Abra Bennett, a professional cook and food writer from Bainbridge Island in Washington State whom I met on my favorite food Web site, eGullet. She sent me a mother with a 40-year pedigree. It came in a jar, a dark-red blob suspended in liquid. Abra also gave me lots of good advice. Her most important pointer was to use the same quality red wine for my vinegar, that I like to drink.
“As you can see from the method detailed below, once you get yourself set up with a crock and a mother, there is nothing complicated about making vinegar. You’ll be amply rewarded for your patience, whether you bottle the vinegar to give as gifts, use it simply in vinaigrettes or use it in more ambitious dishes, like my take on the earthy, luscious French classic poulet au vinaigre that follows.”
This article originally appeared in October, 2006 Food and Wine Magazine. www.foodandwine.com
Making & Using Red Wine Vinegar
By Paula Wolfert (From Food and Wine Magazine October 2006)
- Buy a 1-gallon earthenware crock with a top-quality wood or plastic spigot. Add water to the crock to check for leaks; drain the crock. (Paula is the one who got me into making Pottery Vinegar Crocks.)
- Buy an 8-ounce bottle of commercial mother from a wine- and beer-making supply shop (or get it from a friend).
- Add 2 cups of good red wine and 1/4 cup of filtered water to the crock (or enough to at least cover the spigot), then add the mother. Cover the crock with a double layer of cheesecloth and fasten with a rubber band (or just use the lid with the hole in it).
- Set the crock in a warm (70° to 90°), dark spot and let stand for 1 1/2 weeks.
- Add red wine to the crock in three 2 1/2-cup installments at 1 1/2 week increments; the crock should then be about two-thirds full. Once a thin veil has formed on the surface, add the wine through the tube of the bulb baster tucked under the edge of the veil. Let the crock stand for a total of 10 weeks.
- Bottle the vinegar when it smells sharp and crisp: Strain it into sterile bottles through a plastic funnel lined with a paper coffee filter. (If you plan to start the process over, leave 2 cups vinegar in the crock and just add wine and water.)
- For the most part, you can just keep the bottle of filtered vinegar in the fridge. The vinegar will mellow in the bottle and improve with age.
- But if you plan to keep it more than 4 months, you can pasteurize it: Heat the vinegar to 155° in a stainless steel saucepan and hold it there for 30 minutes. Store the vinegar in sterilized, well-sealed bottles in a cool, dry place. Use homemade vinegar for dressings and sauces and as a seasoning; never use it for pickling.
Hi there, I am curious to know why the vinegar crock needs to be in a dark place if the earthware is opaque, unlike a mason jar or the like?
Hi Layli, It doesn’t. I picked that up from Paula’s writing (with permission) and missed that comment. You are right. Dark would only be necessary if you’re brewing in glass. As mentioned, Margo True, at Sunset magazine, feels that ceramic is better because there are micropores, and once they get “innoculated” with mother, it is a much more effective brewing vessel. Thanks.